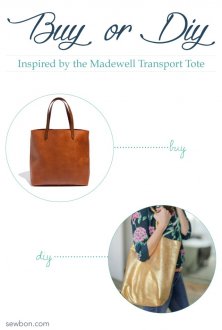
 I am SO exited about this new sewing series that my amazing blog buddy, , and I are starting! Every other month, Caroline and I are each going to share an item that we’d love to buy from a store and then also share a DIY on how to make it. That way, you can either buy or DIY!
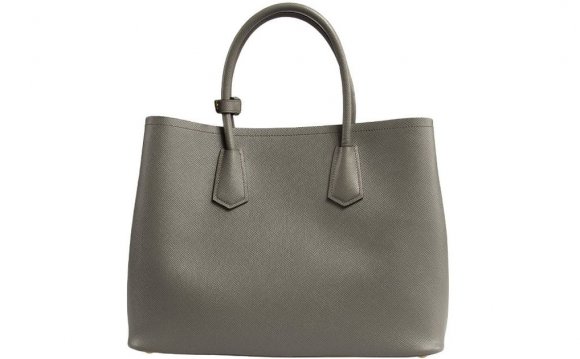
I’ve been seriously in love with the leather for a while now. It a gorgeous leather bag with an interior pocket that I think is the perfect size. I really wanted it in the English Saddle color with my initials monogrammed in gold. However, Santa didn’t bring it for me and Andy wasn’t thrilled with the idea of me spending $170 on a tote bag. So, instead of buying it, I decided that I would DIY it!
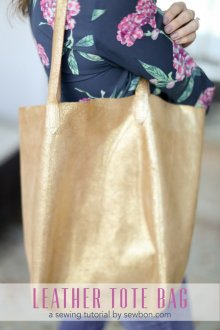
Lucky for me, I already had this amazing distressed metallic leather hide on hand that I picked up from for $38 (hint, check out the ‘odd lots’ table in person at the stores!) and I thought it would make for a fun DIY version of the Madewell Tote Bag. Now, I know that gold leather may not be everyones favorite, but you can easily DIY this bag in any color of leather you like!
So, if you are as excited about this bag as I am and would rather buy it, you can
Or, if you want to DIY it, I’m sharing all the details below!
Ready to DIY? Let’s get started!
Materials
Instructions
One: Set up the sewing machine with the leather needle, heavy duty thread, and a slightly longer stitch length. I used a stitch length of 3 throughout this project.
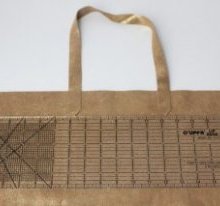
Two: Cut the leather as follows:
- Cut two 18 1/2 inches wide by 17 inches tall. These will be the front and back pieces of the bag.
- Cut two 22 1/2 inches long by 3/4 inches tall. Cut a point at each end starting 1 inch from the end. These will be the straps.
- Cut one 7 inches wide by 14 inches tall. This will be the interior pocket.
Three: Lay a piece of the leather bag out so that it’s 18.5 inches across and 17 inches tall. Using some Wonder Tape, tape the strap 2 inches down from the top at 6 1/4 inches and 12 1/4 inches. Make sure the strap isn’t twisted.
Four: Sew the strap to the bag by stitching two boxes on each end. Pull the ends of the thread to the back and knot.
Five: Repeat for the second strap and back of the bag.
Six: (This step is optional, but I found it helpful with getting the pocket to lay flat.) Using the V gouge, lightly gouge the leather 7.5 inches down from the top.
Seven: Fold the pocket so the back of the pocket is 1 inch taller than the front. The gouged line should be at the fold.

Eight: With a 1/4 inch seam allowance, stitch the sides of the pocket. Pull the threads to the back and knot.
Nine: 1 1/2 inches from the top of the pocket, mark at the center of the pocket where the button stud should go.
Ten: Punch a hole in the back of the pocket and the front of the pocket, making sure the holes line up. Make sure to use the right size punch for the size button stud that is being used.
Eleven: Cut a very small slit at the bottom of the hole in the front of the pocket. This will allow the button stud to fit through the hole.
Twelve: Attach the button stud by screwing the stud into the back side of the pocket
Thirteen: Using some Wonder Tape, tape the top of the pocket to the inside of one of the bag pieces just below the straps.
Fourteen: Sew the pocket to the bag piece by top stitching along the top of the pocket with a quarter inch seam allowance. Pull the threads to the wrong side of the leather and knot.
Fifteen: Place some Wonder Tape along the side of the bag on the front side and overlap the second bag piece by 1 inch. Both sides of the bag should be right side up.
Sixteen: Sew the front and the back of the bag together with 2 lines of stitches. Pull the threads to the back and knot.
Seventeen: Repeat steps 15 and 16 for the other side of the bag. Now the bag should be a loop.
Eighteen: Sew the bottom of the bag together with a 1/2 inch seam allowance. Fold the seam open and finger press.
Nineteen: To make a 6 inch gusset, line up the side seam and the bottom seam of the bag and draw a line 6 inches across. Sew along this line and pull the threads to the back and knot. Trim the corner to 1/2 inch. Repeat for the other side.
Twenty: Attach bias tape over the gussets on the inside of the bag. Unfortunately, my sewing machine couldn’t sew through the bulk of overlapping seams, so I ended up gluing the bias tape on with some leather glue.
And that’s it! Now you have a handmade leather bag that is pretty darn close to the !
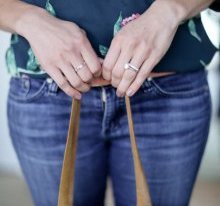
Tote Bag: Handmade // Blouse: // Jeans: // Necklace: Discontinued JCrew // Belt:
Don’t forget to head over to Sew Caroline and see the amazing she DIY’d! You definitely won’t want to miss it!


Share this Post
latest post
-
 Leather Hobo Crossbody Bags July 4, 2023
 -
 Branded Leather Wallets for Men June 29, 2023
 -
 Make a Leather Messenger Bag June 24, 2023
 -
 Saddleback Leather Briefcase for Sale June 19, 2023
 -
 Genuine Leather Tote Bags June 14, 2023
 -
 Michael Kors Fulton Leather Messenger Crossbody Bag June 9, 2023
 -
 Red Leather Tote Bags June 4, 2023
 -
 Leather Tool Tote Bags May 30, 2023
 -
 Large Leather Tote Bags Wholesale May 25, 2023